Spine Workbench Illustrated Guide
A screenshot walkthrough of template selection, character creation, task history, calibration, detail adjustments, part rework, weapon variants and multi-skin export.
Follow the video workflow from template selection to a multi-skin export. Screenshots come from the supplied recording and show its original interface. Credit costs and available actions follow the current workbench.
1. Choose a template · 0:00
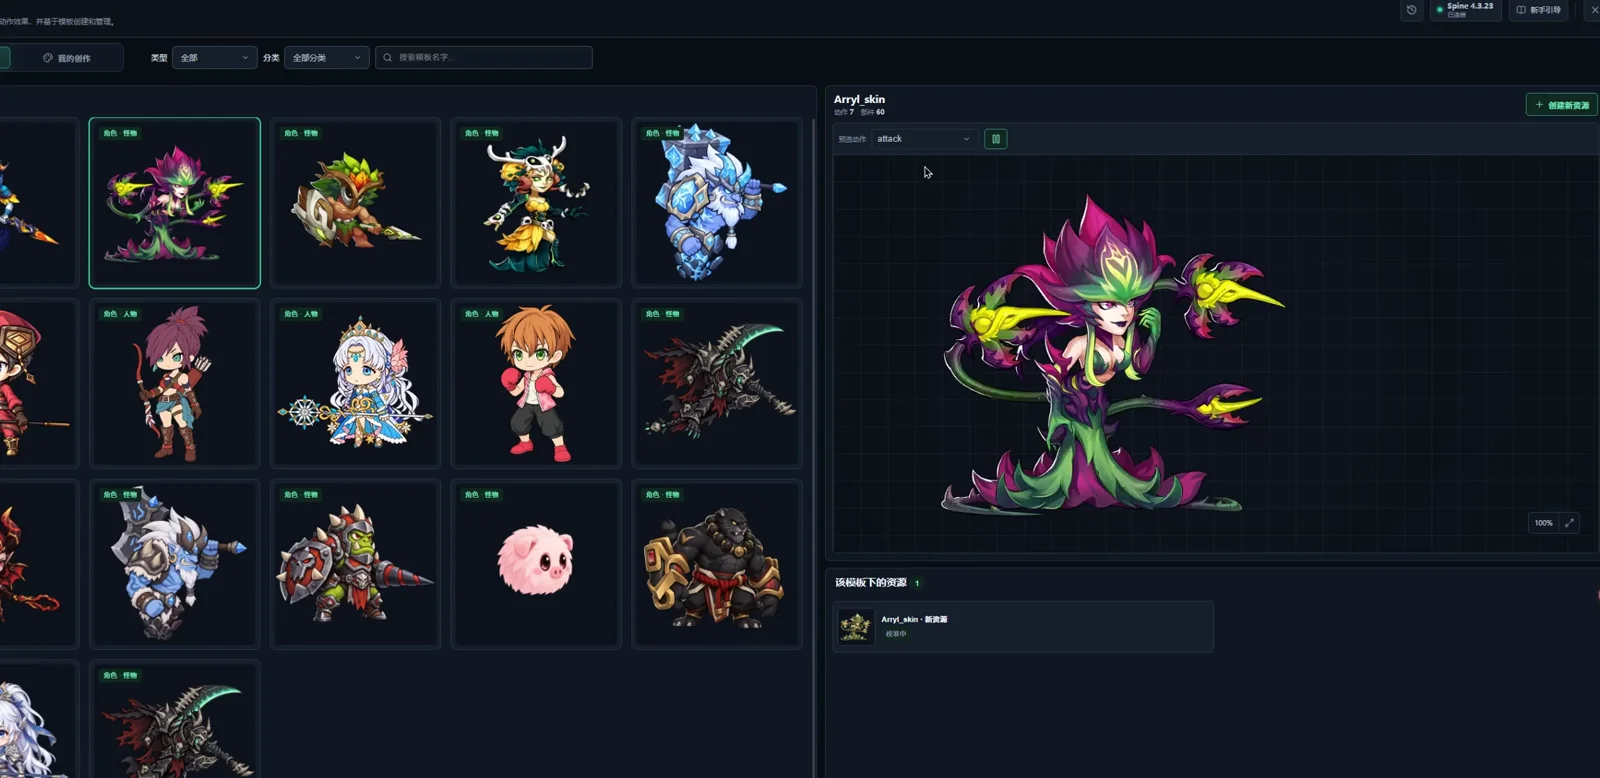
Open Spine Workbench and browse templates by type, category or name. Select a template and preview its motions on the right. Check its proportions, weapon pose and animations before choosing Create new resource.
2. Create a character · 0:15
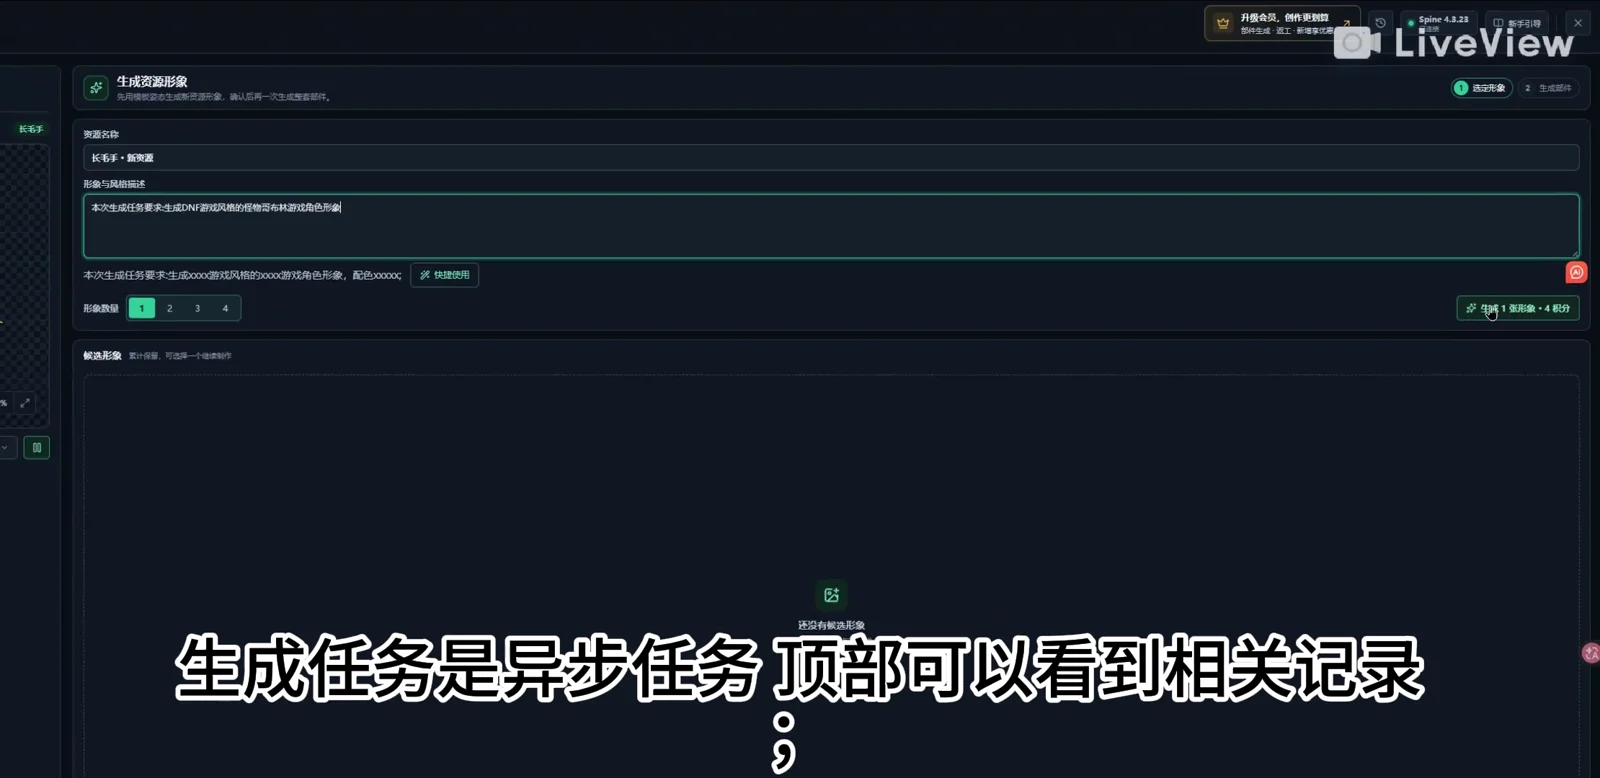
Enter a resource name and describe the appearance and style. Use the suggested prompt format as a starting point, replacing its style, character and colors with your requirements. Choose the number of candidates and review the displayed credit cost. Select a suitable candidate before generating all parts; regenerate the appearance first if needed.
3. Review task history · 0:37
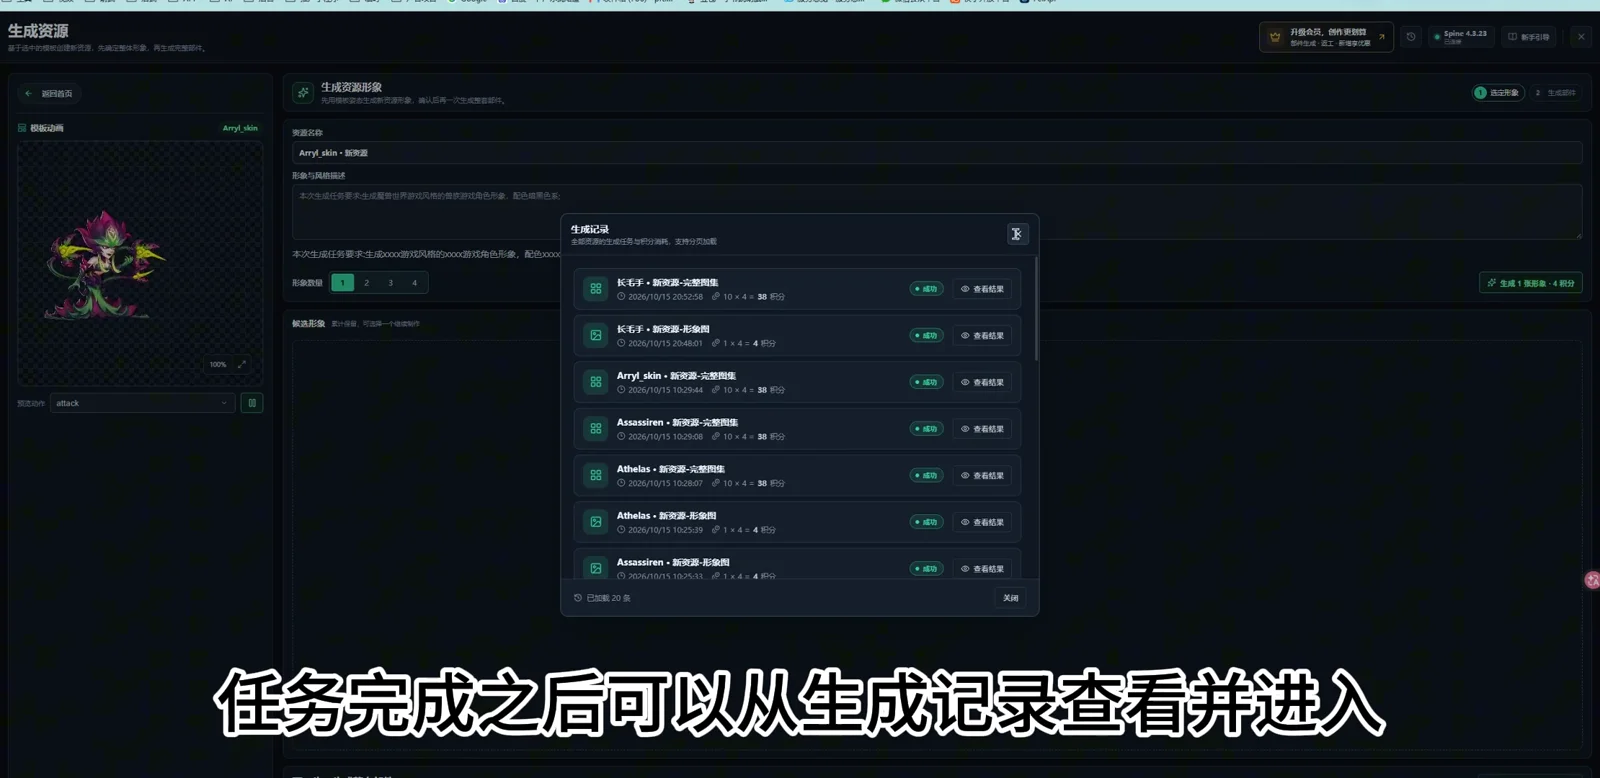
Generation runs asynchronously. Open the history control at the top and review task status in Generation history. Distinguish appearance-image tasks from complete-atlas tasks. After a task succeeds, choose View result to open its resource and continue.
4. Calibrate parts · 1:04
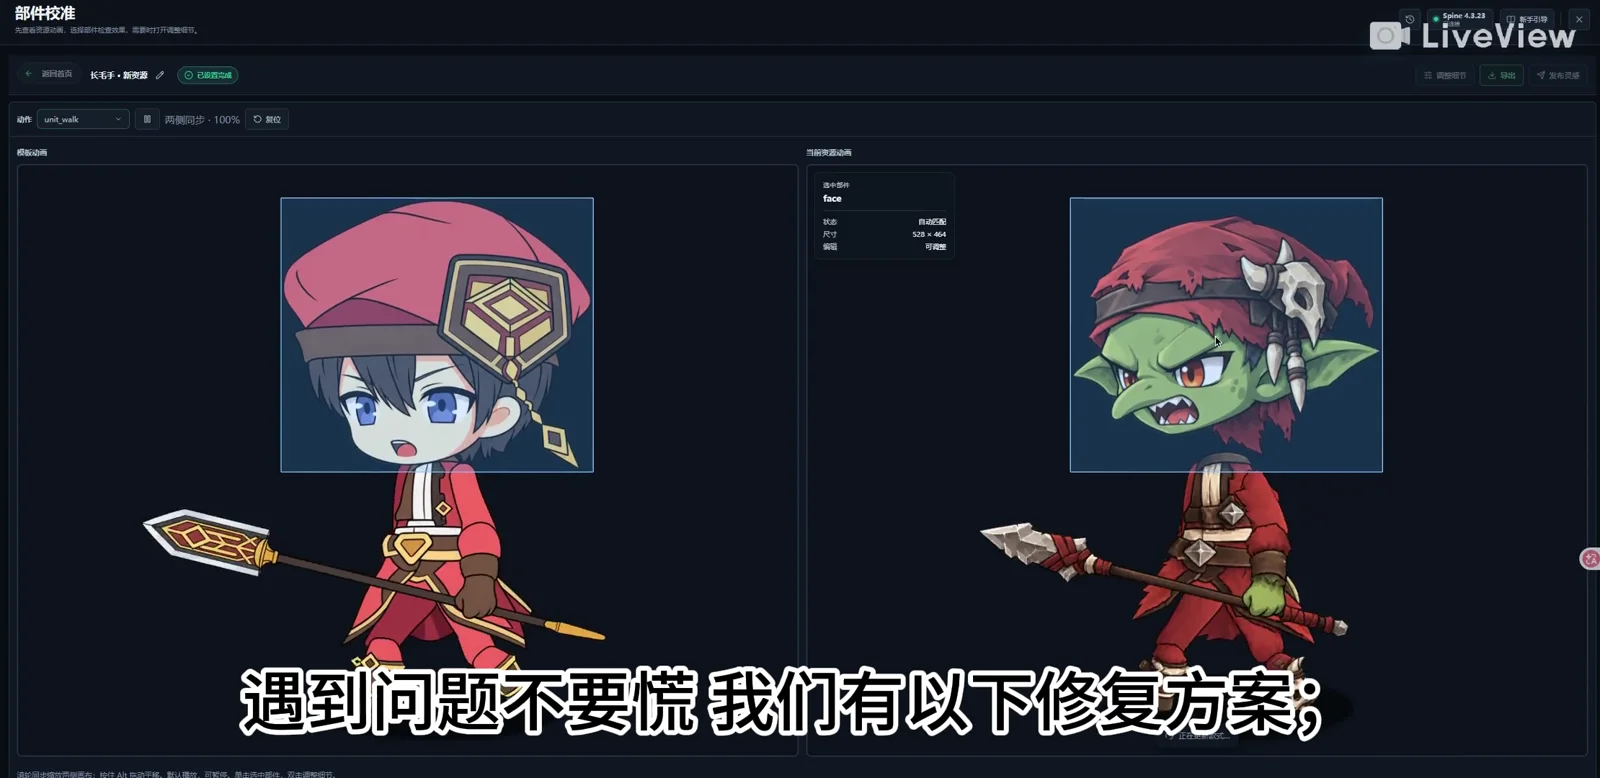
After the parts are generated, open Part calibration. Compare the template animation on the left with the current resource on the right. Use the same motion to inspect the orientation, size and attachment of the head, limbs and weapon. Identify the affected part before adjusting it.
5. Adjust details · 1:17
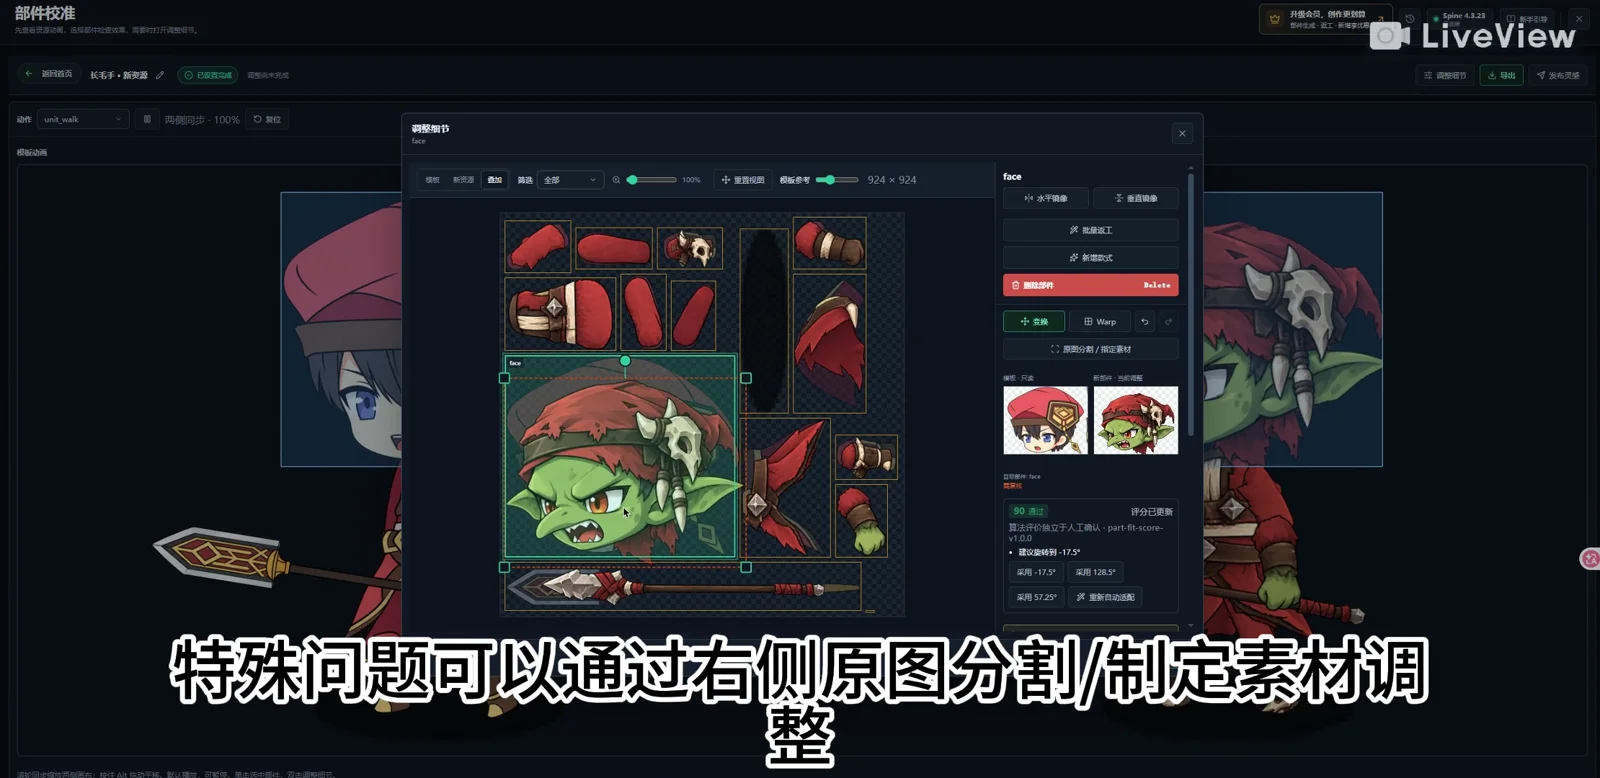
Select the affected part and open Adjust details. Compare it with the template reference, then correct its orientation and placement with transforms or horizontal/vertical mirroring. Use Warp when local deformation is needed. Return to the animation preview after each adjustment to check alignment and overlap throughout the motion.
Refine the cutout boundary
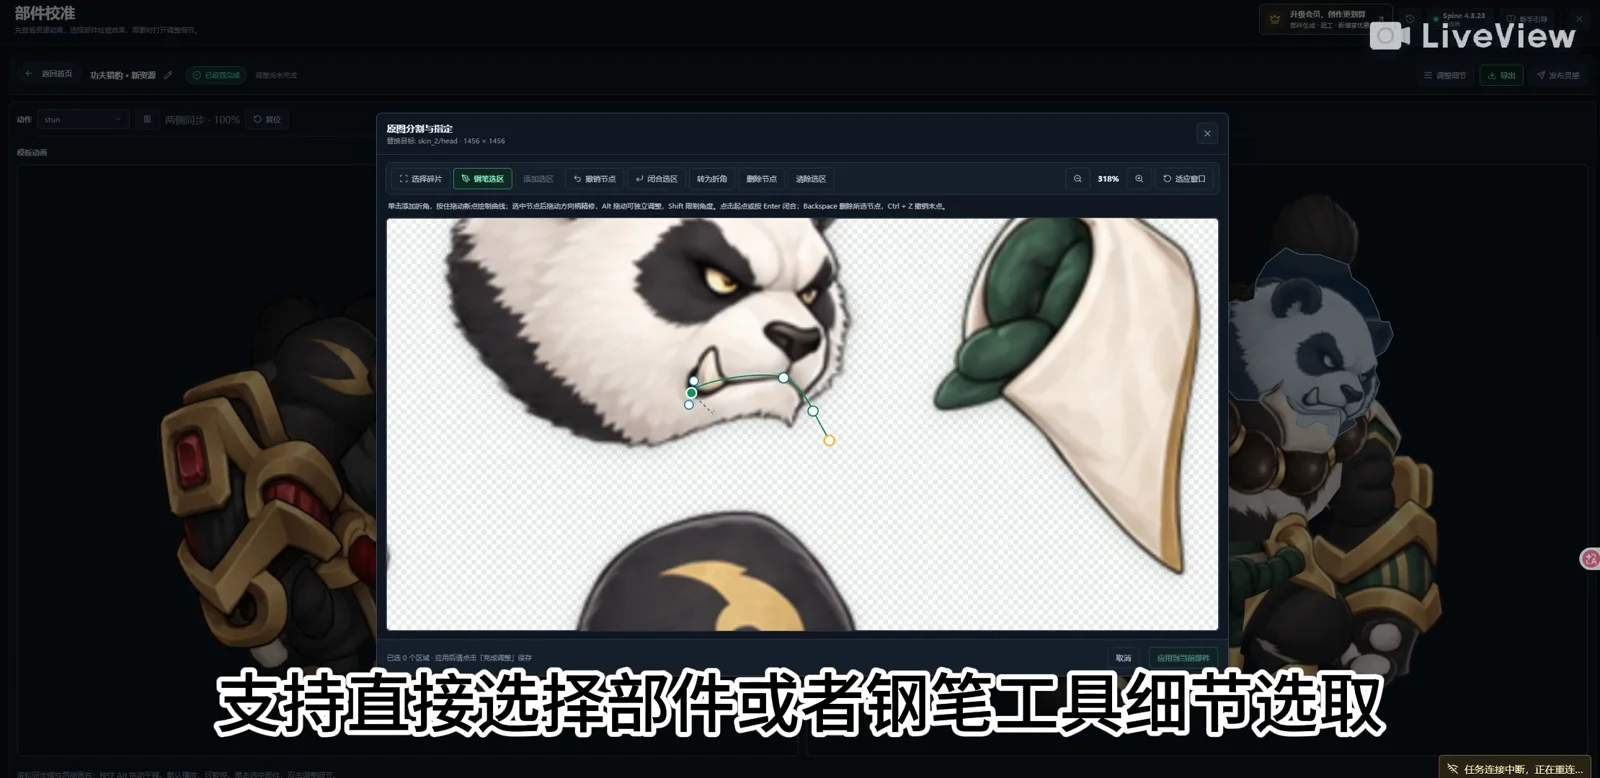
For an incorrect contour or cutout area, open the source-image selection editor. The video demonstrates selecting a part directly and tracing a precise region with the pen tool. Apply the confirmed selection to the part, then inspect it in the animation.
6. Rework parts and add a weapon · 2:05
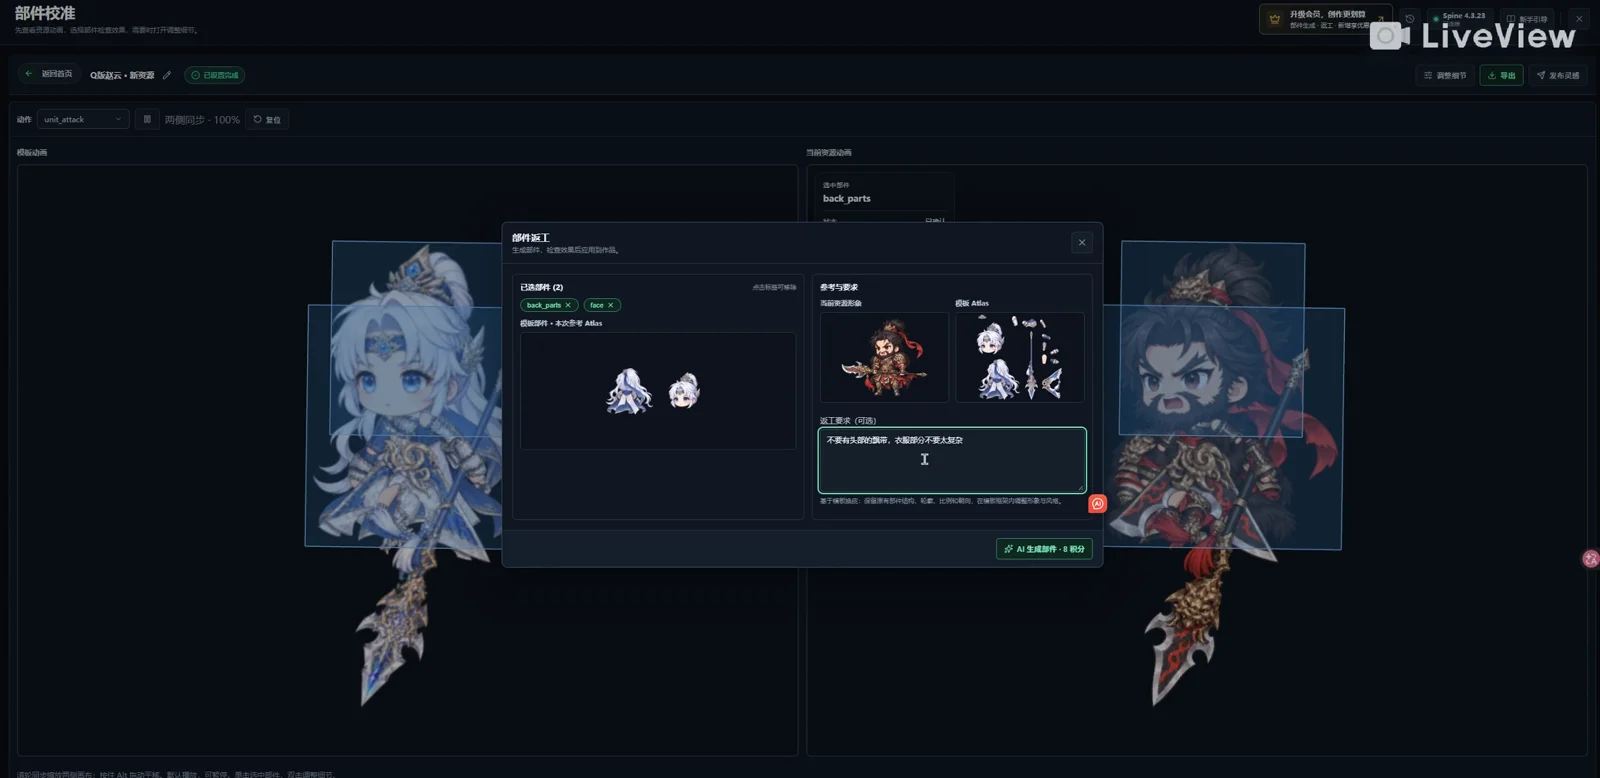
If the artwork itself needs changing, select the affected parts and open Part rework. Review the selected parts, reference character and template atlas. Describe the specific changes, check the displayed cost and generate replacements. Keep the request focused on the selected parts.
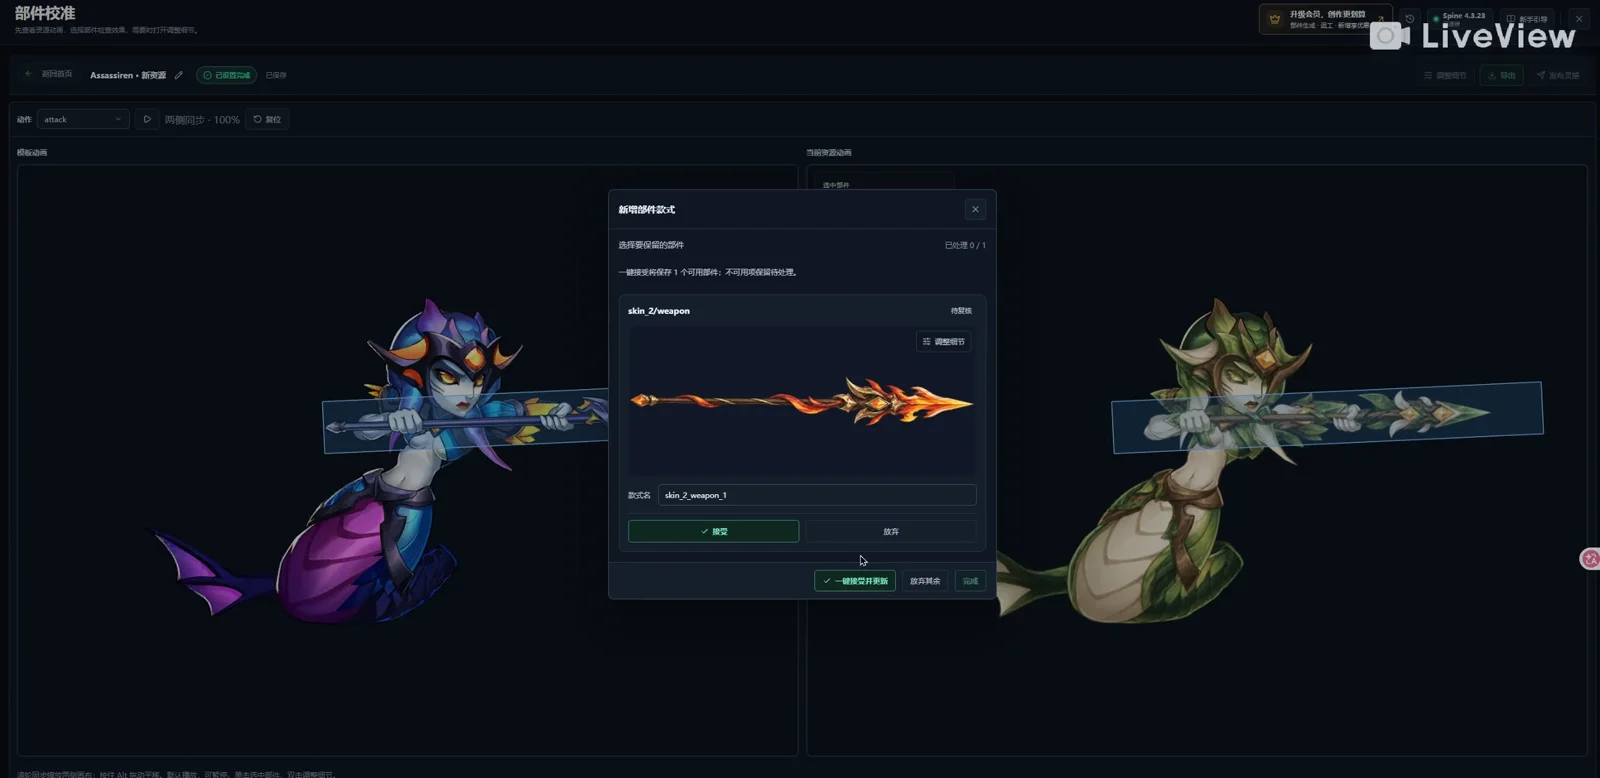
Keep a new weapon variant
The video then demonstrates adding a weapon variant. Select the weapon part and inspect the generated candidate. Adjust details if necessary, name the variant and accept the result you want to keep. Return to the animation preview to check its grip position and orientation during motion.
7. Export multiple skins · 3:15
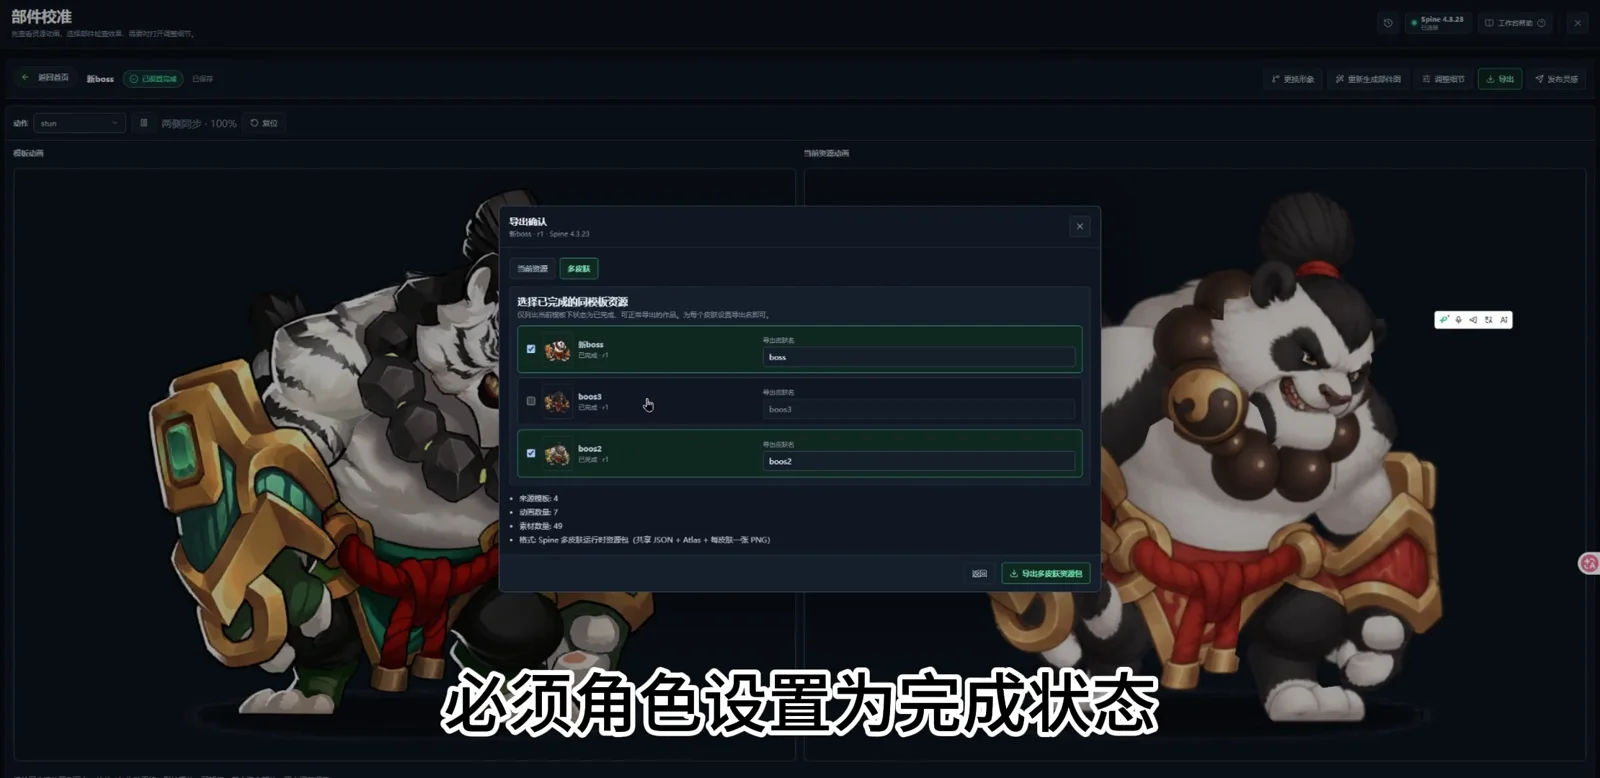
Mark the resources you want to export as complete. Choose Export, then Multiple skins. Select completed resources belonging to the same template, enter their exported skin names and review the summary. Export the multi-skin package; the demonstrated package contains shared JSON, an atlas and PNG images for each skin. Check skin names, textures and animations after downloading.